Bold Gingham Ashton Top Hack


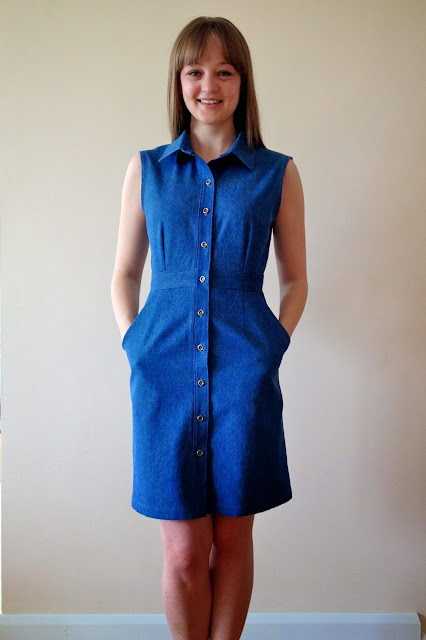
I'd just purchased and had great success with the Ashton Top pattern from Helen's Closet Patterns when making my refashioned tablecloth top. Making that top has really reignited my passion for recreating garments and details I'm inspired by on the internet. I went back to browsing through my Pinterest boards and remembered the tops pictured below with their gorgeous button and loop detail down the side. I though the Ashton would be the perfect blank canvas to try this on and the project would also be a great match for my precious metre of gingham linen.
 |
| Image Source |
Altering the top to fasten down the side seams took a little bit of thinking about but wasn't too complex. The pattern comes with two options for finishing your neckline and armholes; an all-in-one facing and a bias tape facing. Both achieve a lovely crisp finish and I like that you can make a choice between the two depending on what is most suitable for your fabric. To create my button detail I was obviously leaving the side seams open so to cleanly finish everything I used the all in one facing and extended it down the side seam to join up with the hem facing. This basically meant I had a second front and back cut out with the centre of each piece removed! I finished the inside raw edge of the facing on the overlocker which was a little tricky around those inner corners.

To assemble it I followed the instructions for the all-in-one facing but continued the stitching down the side seam when sewing the armholes. I then flipped everything out to the right side and sewed the remaining hem edge of the facing wrong sides together. It is really helpful to trim all the corners and clip your curves before turning the facing through and if you're doing something similar with a facing down the side seam then remember to sew the partial bust dart in the facing too.

I made the little rouleaux loops for the buttons by cutting strips of the fabric using the bias binding pattern piece. I then folded and sewed them together along the long edge and turned them through before cutting them into short lengths for individual loops. I pinned then basted these into place along the side seam of the top (raw edges of the loops towards the raw edge of the fabric and with the loops on the right side of the fabric). I then attached the facing right side to the right side of my shell fabric as usual so the loops were sandwiched between the two layers. It looks like it might be fiddly but was actually pretty quick and straightforward.

What was fiddly was making the covered buttons. I've never really got on with these and should probably invest in one of those little covered button tools. I made these by hand sewing loosely around the edge of each circle of fabric and then pulling on the thread to gather it around the button head. This is a reasonably heavy linen so provides a nice boxy structure to this style of top. This is one of those patterns that I can imagine feels like a completely different top when made in a finer fabric with more drape. So versatile. However, the thickness of the linen was quite bulky to make such tiny small little buttons with (these are the 11mm size). I managed but I feel like assembling the covered buttons took longer than sewing the whole rest of the top!
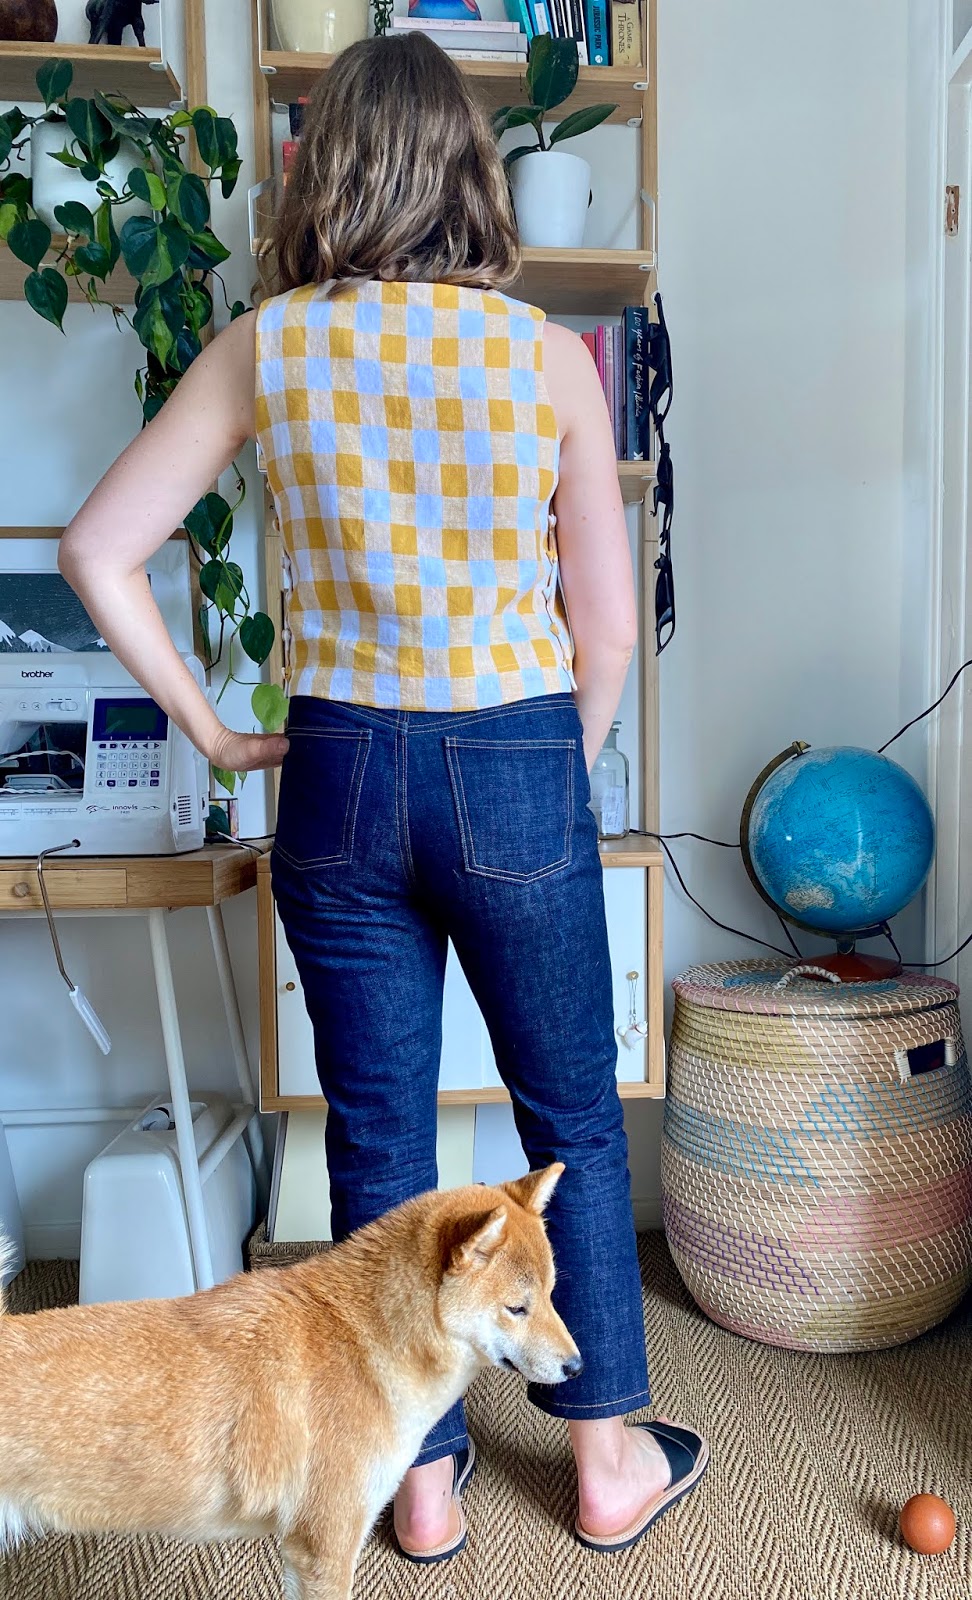
I followed my measurements to cut the size 6 B cup and am so impressed with the fit. Especially around the armhole. It sits really nicely and I only made one slight change to the fit for this version. My pattern matching at the side seams was spot on but I decided when attaching the buttons that I wanted to pull in the bottom edges for a slightly closer fit so now the horizontal stripes of the gingham are slightly mis-aligned. This is the cropped version of the pattern and I absolutely love the length for pairing with high waisted trousers and skirts.

I can see this top being worn a lot over the summer. It is just the kind of staple garment my wardrobe needs more of and I'm really inspired to make some more and have fun playing around with details on the pattern. There are some fantastic ideas on Instagram if you search #ashtontophack. I'm wearing it here with my Dawn Jeans but it works really well with so many other bottoms; the Flint Trousers, Persephone Pants, the Evie Bias Skirt to name just a few. I'm off to rummage through my stash and see what other fabric would make a good Ashton!


Lovely little top, so cheery.
ReplyDeleteThanks Carol, I feel cheery when I'm wearing it!
DeleteReally nice top! I liked seeing the inside of it!
ReplyDeleteThanks Ananda, I'm glad the inside photo is interesting! I always like to see how something has been constructed
DeleteOooo...this is so cute! Thanks for sharing the details of your Ashton hack. I'm just wondering...did you extend the side seams of the back bodice or is there potential for a slight gap?
ReplyDeleteHi Sue, I didn't extend the side seams no and I actually ended up overlapping the side seams more than I intended for a closer fit. No potential for gape-age!
DeleteGreat!
DeleteAbsolutely beautiful, love those side seam buttons and loops! You inspire me to get going on summer sewing, now that it is getting hot midday here in Colorado.
ReplyDeleteThank you! I've always loved the button and loop detail, think I'll be using on more garments from now on. I'm always much more inspired to sew in the summer, so many lovely patterns and fabrics to try
Delete