How To Add Flat Piping to a Coat Lining
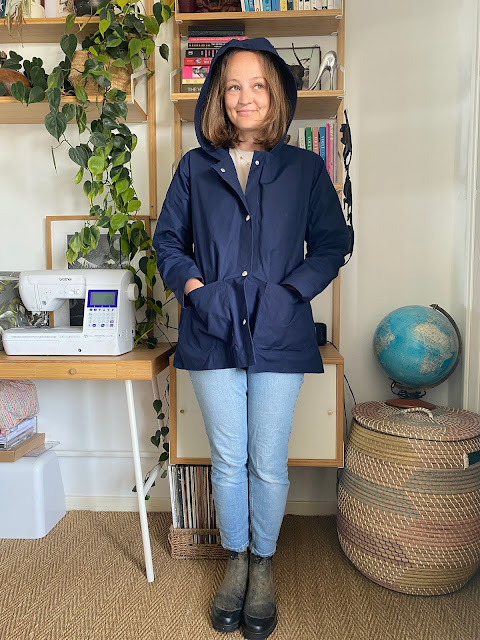
Firstly thanks so much for all of your lovely comments on my last couple of coat posts! Reading them really made me stop and think about how far my sewing has come since I made my very first top about five years ago. It was so lovely to look back and think about what me then would have thought about the possibility of me ever sewing something so complex! So thank you for making me realise how much I've improved!
A couple of people asked about how I applied the piping between the lining and facing on the coat, particularly about how I managed to keep it an even width all the way around that seam. So I thought I'd do a quick tutorial for you all as the method I used was pretty straightforward. This tutorial is for making your own piping from fabric rather than using a shop bought piping or bias, which might not be your ideal width and therefore need to be applied slightly differently.
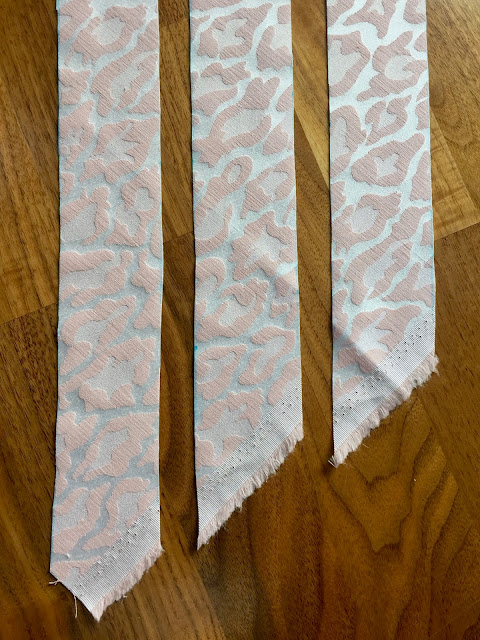
- First you need to cut bias strips of the fabric you are using to make your piping. They need to be on the bias so they have a bit of stretch in them and can easily be moulded around a curved edge such as your neckline.
- The bias is at a 45" angle from the selvedge so use a set square to mark a line at that angle, I usually start from a corner. Extend this line right across your fabric. I've drawn mine out using a washable pen so it was clear in the pictures but you can use your preferred marking tool. These edges won't be hidden inside the seam once the piping is sewn in so you don't need to worry too much.
- Next we are going to mark either side of your line at the width you want you bias strips to be. The trick to easily keeping your piping an even width when sewing it in is to make your bias strips the correct width. They need to be as wide as you would like your piping to be (mine is 3/8" which is quite wide), plus the seam allowance you are using to construct your coat (5/8" in my case), multiplied by two as you are going to be folding your strips in half to create the piping. So my strips were 3/8"+ 5/8"x 2 = 2".
- Mark a few points along the line and join them up with one long straight line. Repeat this process until you have enough strips to create a length of piping to match your seam(s), plus a bit extra to allow for the seam allowances where you join them together.
- Cut along the lines to create your bias strips.
- Next we need to join all our pieces together. Lay the end of one strip on-top of another, right sides together and at right angles to one another, matching the raw edges.
- Trim down the seam allowances and press the seam open to give you a continuous strip. If you tug on either end you will now be able to see that there is some give/stretch along the length of the strip. The bias is sewn together diagonally in this way to preserve the stretch. If you join the pieces with a straight seam you will be limiting the stretch at this point. Repeat this step until all your pieces are joined together.
- Fold your bias strip in half along the length of it (wrong sides together) and press with plenty of steam to get a nice and crisp folded edge.
- To insert the piping we need to sandwich it between the facing piece and the lining when they are sewn together. Lay your piping on top of the right side of the facing, lining up the raw edges. Pin in place and baste at 3/8". Make sure you stop stitching where the pattern indicates where to stop sewing the lining. (The end of the piping will eventually be turned up and secured with the hem of the lining).
- Now lay your lining piece on top of your facing piece, right sides together, exactly as you would is you were sewing this piece as usual with no piping. Align those raw edges, pin and stitch in place with your regular 5/8" seam allowance.
- Open up your seam and press, pressing the piping towards the facing and the seam allowances towards lining. At this point you can under-stitch your lining to the seam allowances to keep everything flat but I found I didn't need or want to with my lovely silk charmeuse lining!
- And voila! Neat and even piping. By giving your piping the same size seam allowance as your coat seams you omit any need to fiddle around trying to measure and pin piping in place because you can just line up all the raw edges and sew!
If you're feeling confident you can skip basting the piping in place and just pin and sew the facing, piping and lining together in one fell swoop. You don't need to be able to see your piping as you sew, you just need to keep those raw edges aligned and as long as you keep your stitching even your piping will remain at the desired width.
Making and applying corded piping is a very similar process but you'll want to use a slightly wider strip of bias to allow for the thickness of the cord. Once you've prepped you bias strips and folded them in half sandwich the cord into the fold and baste in place. Then use a zipper foot when you sew it on so you can get your stitching nice and close to the cording.
I hope you find this useful and it inspires you to add another special little touch to your projects! The extra effort was so worth it on my coat.


Great tutorial - very clear. Your coat looks amazing, too.
ReplyDeleteThanks Janet! I'm glad it's clear, it can be a real challenge to explain such a hands on process in words!
DeleteI love the look it gives, more details makes it even more special and more professional, will definitely give it ago next time. I've not added piping to anything yet, must get my butt in to gear and try it.
ReplyDeleteYes these little details can really elevate a project to the next level. This is a great one as it's actually really straightforward and quite quick to do!
DeleteThanks for doing this tutorial, it looks a lot easier than I thought!
ReplyDeleteYou're welcome Lynne! Do try it out, it's really straightforward once you get into the swing of it
Delete