One of my main sewing aims this year has been to develop my skills and confidence when it comes to working with knits. I'm happy to say, despite a somewhat mixed start, I've been really delighted with my last couple of knit garments. I've made a handful of Sewaholic's Renfrew Top over the last six months or so but as yet have not got around to sharing them with you guys. I thought it might be a good idea to group them all into one post as I made them all at various points on my knit sewing journey and there's quite a mixture of results!
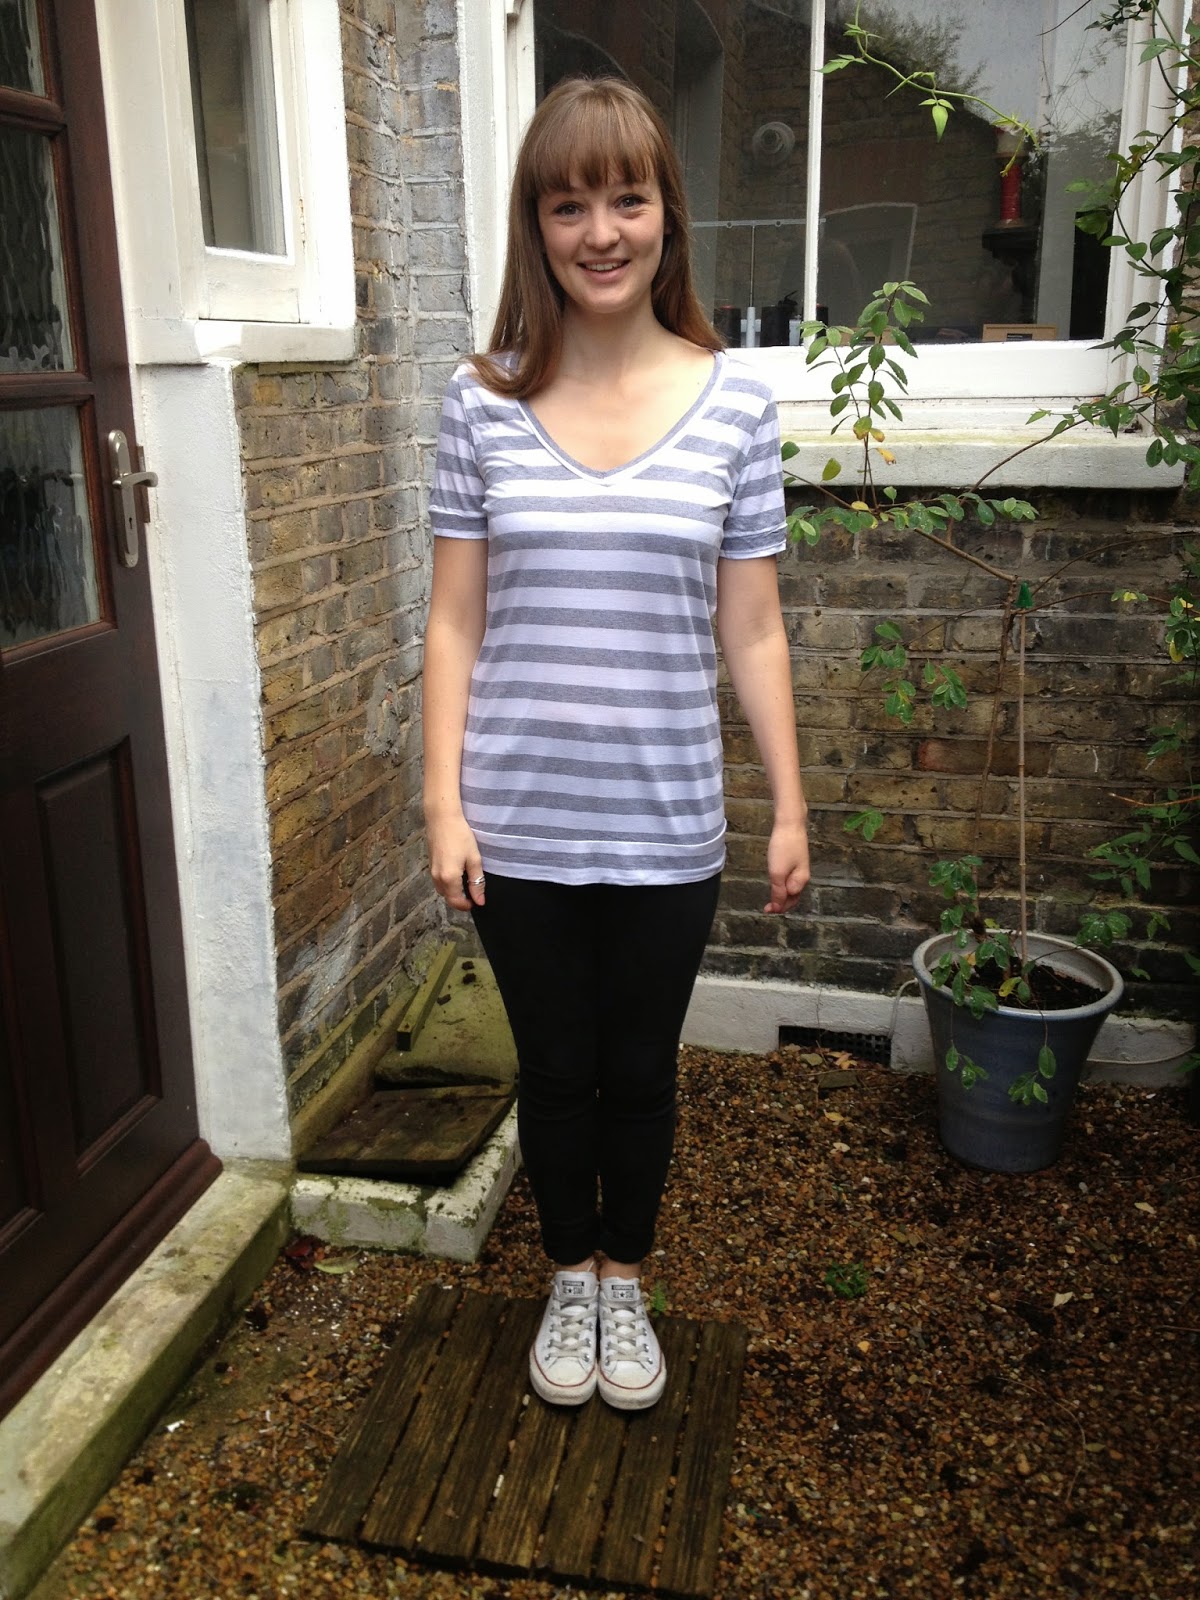
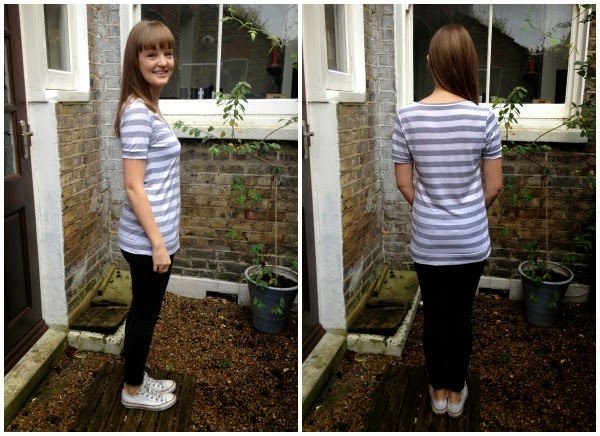
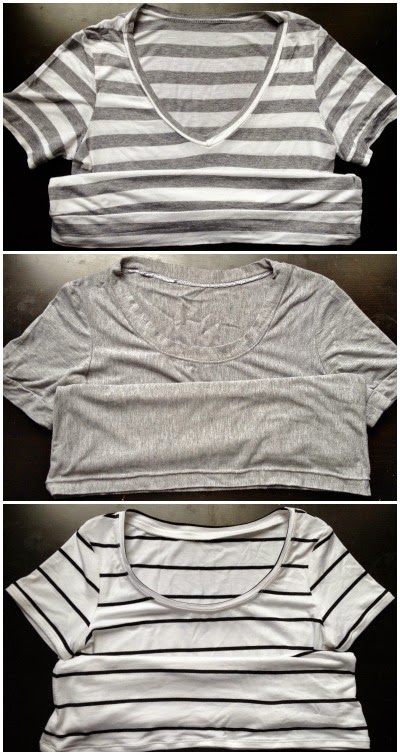
I gave myself a good challenge with this first one, not only choosing the most difficult neckline option with the tricky point to sew but also using a stripe! The one thing I am actually pleased about with this is the stripe matching! It was fairly straight forward as both colours are a nice wide stripe. I cut everything out on the flat and when pinning the side seams I used a pin at the top and bottom of each stripe to make sure everything lined up. I made this right back in March and at the time wasn't sure what to do about matching the sleeves so just made no attempt at it at all! Now I know what I'm looking to match up.
 |
| I'll explain the awful state of the holes in that seam in a moment... |
For all three of these tops I cut exactly the same size (the Sewaholic size 6). I sometimes cut a size 4 with Sewaholic but I like my t-shirts to have quite a relaxed fit. Looking at the second and third versions that come next can you believe that I cut exactly the same size?! I like relaxed but this is just way too big! Because it's so oversized it hangs and drags under the bust in a not very flattering way. Part of the reason this happened was because it was constructed entirely on my overlocker. I'm getting better at accuracy when it comes to the width of seam allowances with the overlocker but I'm no where near as accurate as on my machine. At the point of making this I was worried about cutting off too much and making the top too small so erred far too much on the side of caution and my seam allowances were much too narrow and this added up to make the t-shirt far too big all over.
The other aspect of the sizing issue is the quality of the jersey. This was one of the very first knits I bought when I had no idea about what to look for in a good jersey. This particular fabric I picked up for super cheap on Goldhawk Road and is very fine and synthetic feeling. It doesn't have a particularly nice drape, which I can recognise now I've worked with other knits which so, and the grey stripes are crisper than the white. Plus it has pretty appalling recovery and has really stretched out even though I've barely worn it. At the seams the fabric itself has started to tear away from the stitching and fall apart. As this was one of the first projects I made on my overlocker I thought it was something to do with not having the tension settings right. However I haven't had this problem with any other knit projects, so I've come to the conclusion it is the fault of the cheap fabric! Still I'm glad I started off with something cheap and cheerful which I've learnt a lot from.
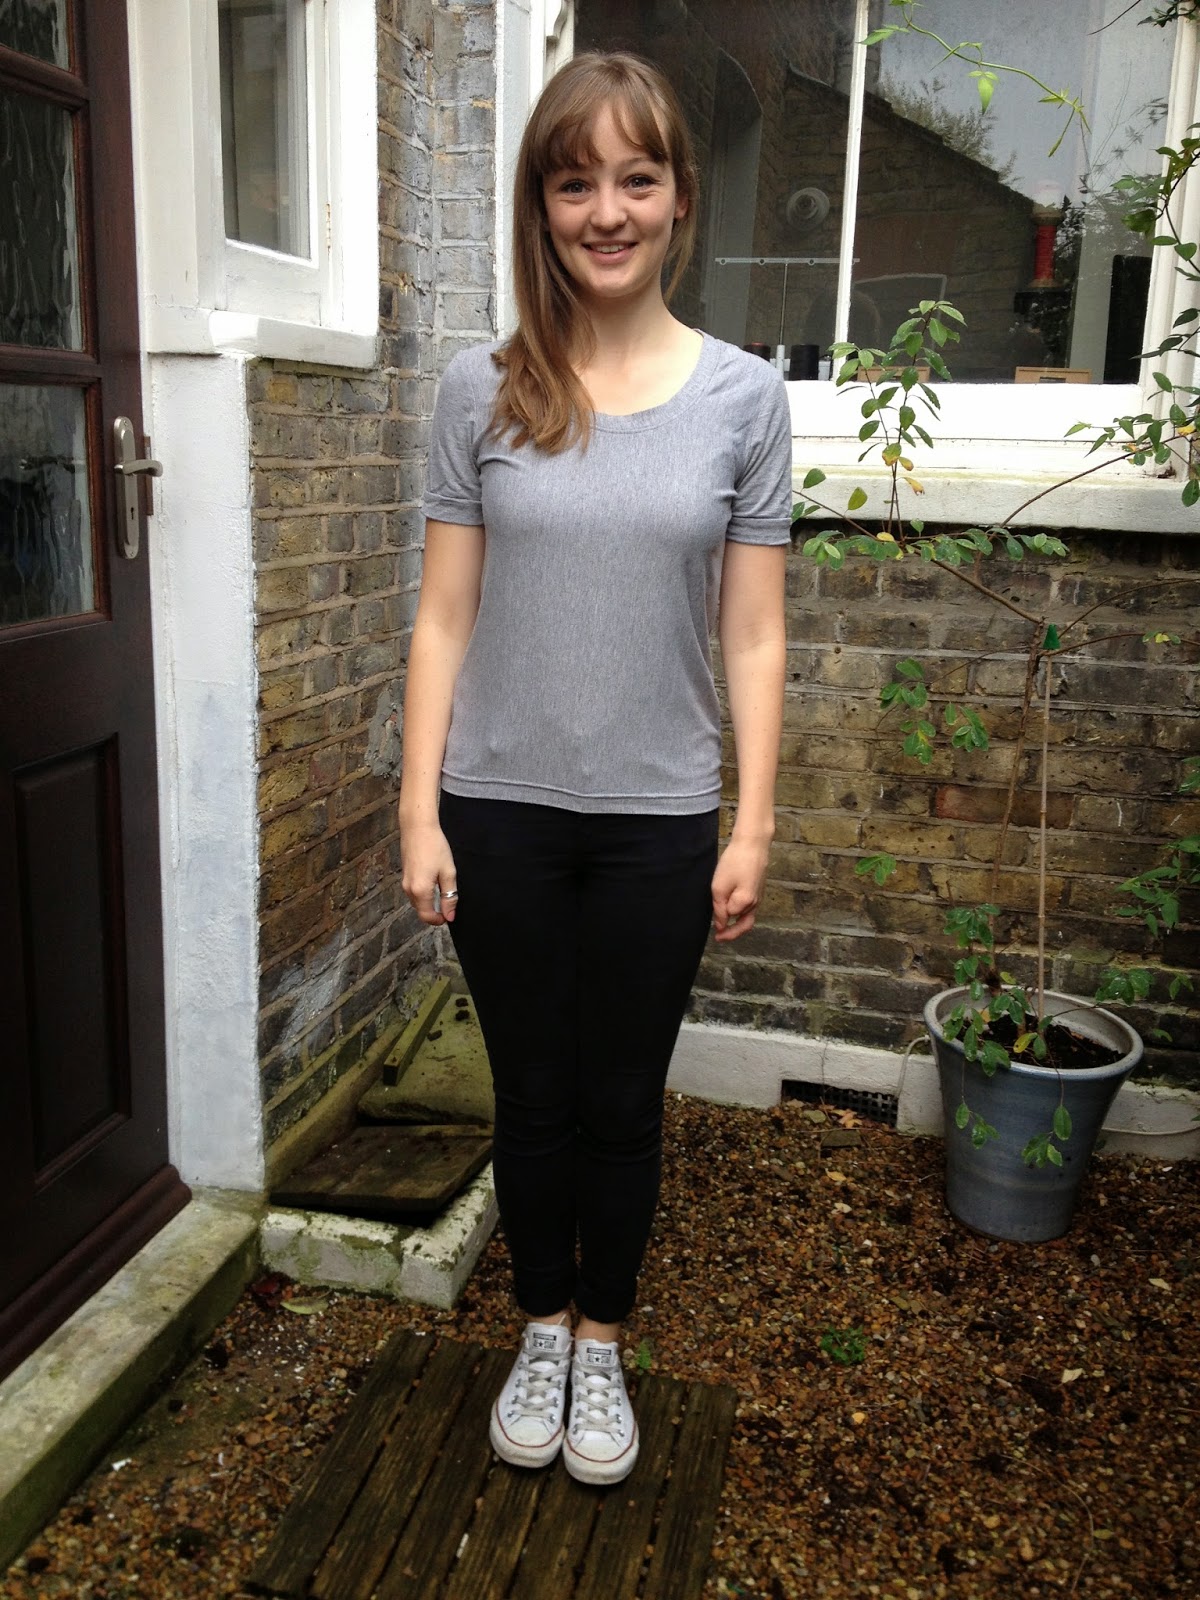
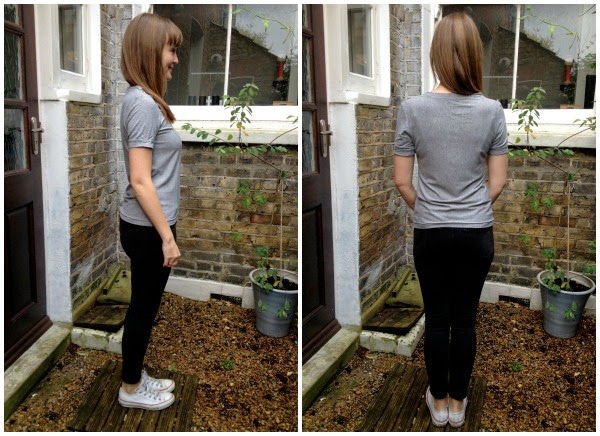
The second version I also constructed almost entirely on my overlocker but I got a better fit through the body by being more careful about using the correct seam allowance. Plus the jersey hasn't stretched out of shape! This is the same fabric I used for my Coppelia Cardigan which I still love, it's lovely and soft to wear. On this version I omitted the hem band and chose instead to turn it up once and use a twin needle to finish. I'm fairly short and I think the intended length of the Renfrew is longer than my personal preference for t-shirts so loosing length wasn't a problem. I'm much happier with the length on this one and it has actually had some wear unlike the first!
While it is a vast improvement on the first t-shirt the issues I have with this one are the bands to finish the sleeves (they make them too long and tight to the arm for me personally) and the width of the neckband. It's come out a wider than in the Sewaholic promotional versions, again down to my lack of accuracy and nervousness about trimming too much off on the overlocker! Because of the extra width it doesn't sit nice and flat against the body despite topstitching the seam allowance down.
I briefly tried to use the twin needle on my first version but it was having absolutely none of that nasty jersey! I didn't have a particularly good time with the twin needle on this one either, some stitches were being skipped no matter what settings I fiddled with or how slow I sewed. I did eventually manage to achieve a finish I was fairly happy with but it's created a bit of a ridge between the lines of stitching. is this to do with the tension or purely the width of space between the needles do you think? At this point in time I wasn't the twin needle's biggest fan!
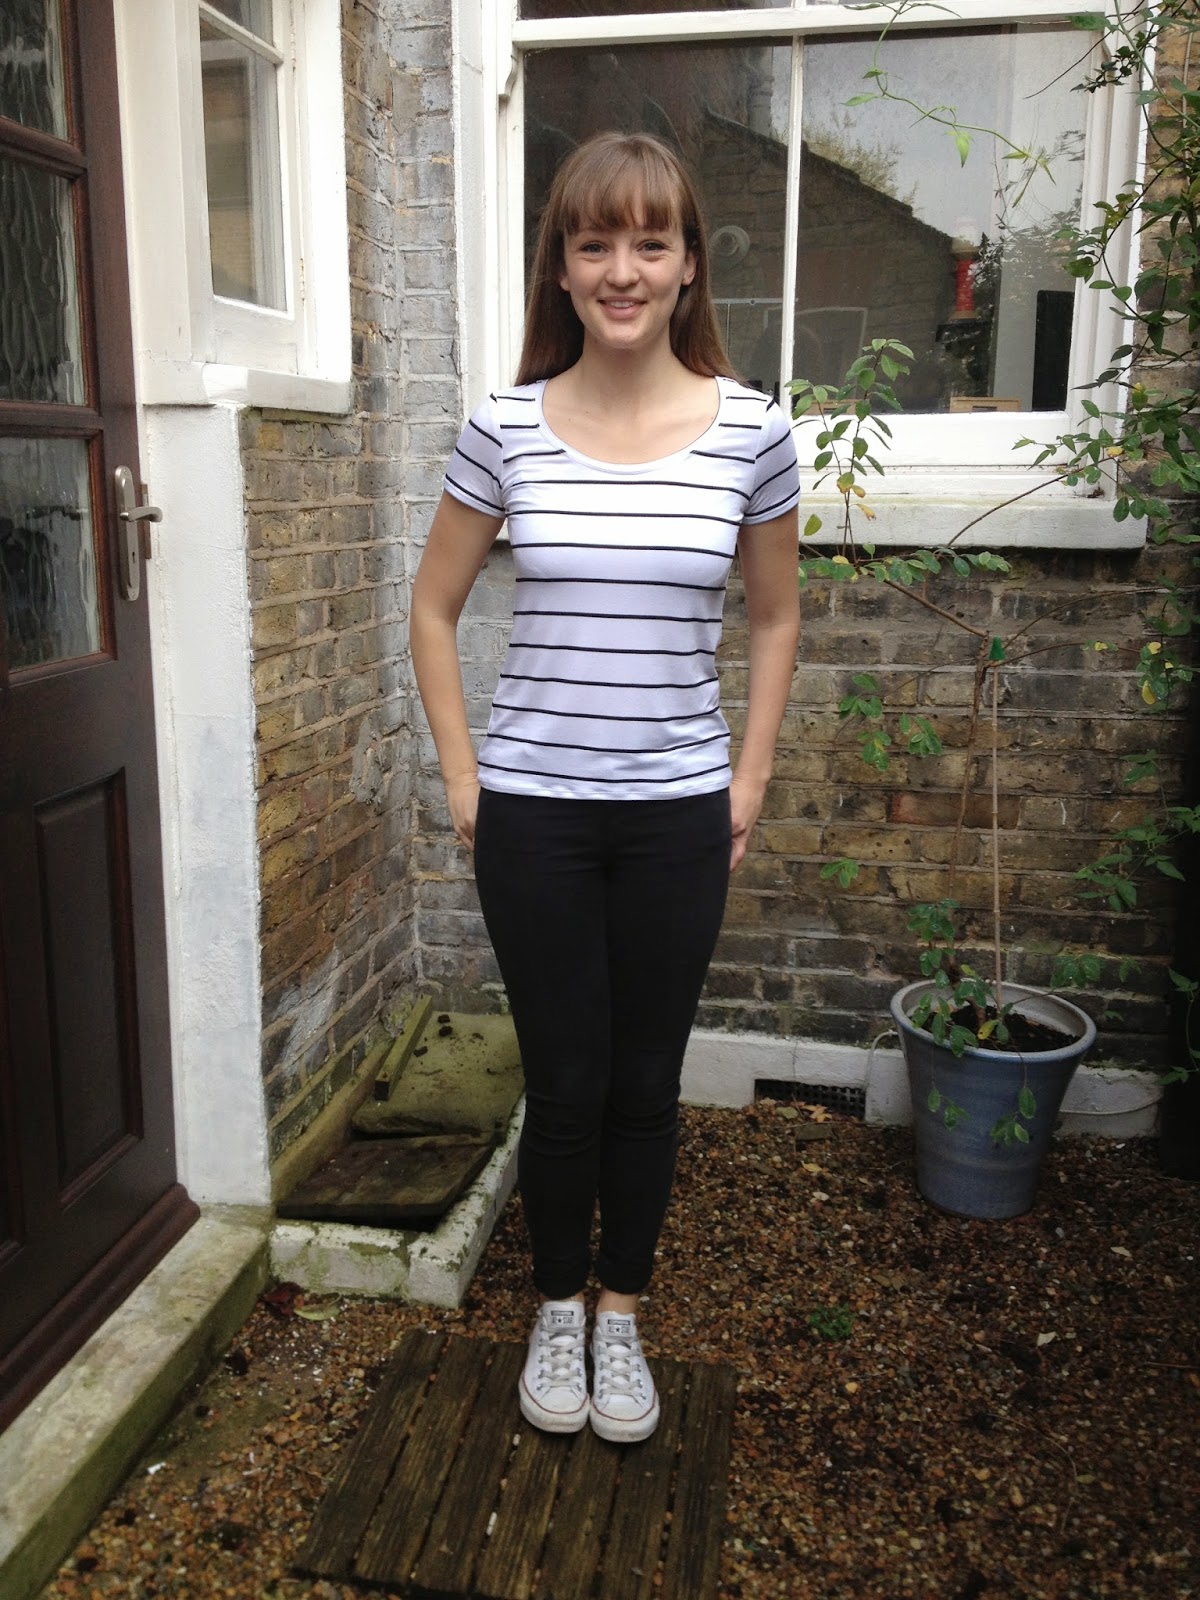
However...I had much better results with the twin needle on my third version which I only made last week and at the moment holds the title of my best knit project yet! I used the same method for matching the stripes and check out this lovely smooth twin-needled neckline!
Something clicked with the twin needle and this project. I wasn't doing anything particularly differently to my first few projects, I was fiddling with the same settings, but perhaps my handling of knit fabrics has improved. I used a viscose jersey from A-One fabrics on Goldhawk Road for this one (I used less than a metre at 150cm wide and as far as I can remember it was £4.50/m) and it pressed, sewed and wears SO much better than the jerseys for my first two. I think the quality of the knit had some kind of impact on how well the twin needle worked, has anyone else found this? Soon after I had another good twin needle experience with my Bronte Top for which I used a lovely bamboo knit which seems to back this up. I know twin needles have a reputation for being unexplainably temperamental but I'm wondering if there's a kind of rule as to what fabrics they respond best to?
As you may notice I made a couple more changes to how I constructed this final t-shirt and now think I've pinned down my ideal t-shirt pattern when it comes to style, fit and construction. I omitted both the bands for the hem and cuffs on this version, turned and pressed the raw edge up twice by half and inch each time and then used the twin needle to stitch in place. I much prefer the shortened sleeves.
I constructed this t-shirt using a narrow zig zag stitch on my machine rather than ploughing straight in with the overlocker. It's turned out so much more accurate than the other versions and the seams are actually a lot neater and appear stronger. I finished all the seams on my overlocker, trimming them down as much as I dared, as I just like the professional finish it gives. Sewing it up on my machine made such a huge difference to how the neckline turned out too. I used a 6/8" seam allowance here (more than recommended by the pattern) to achieve a nice and skinny band which I really like. I'll definitely be using the combination of sewing seams by machine and then finishing on the overlocker in future.
This pattern is a great starting point for sewing knit garments; partly because it's a great, simple and classic shape to begin with and includes a variety of necklines and sleeve lengths. Also the instructions, as with all Sewaholic patterns I've tried so far, are thorough and clear. Included are useful techniques for working with knits such as adding twill tape to the shoulder seams to strengthen and stabilise which I did on all three of these. I've learnt a lot from making this pattern three times and will definitely be making it again. I live in jeans and comfortable tops for work so this is just the kind of basic my wardrobe needs. As winter has well and truly arrived here in London now I think I need to try the cowl neck and three-quarter length sleeves in a cosy stable knit next!



I love how you've put them all in one post so we can see the differences between them and the improvements - it's really noticeable how much the things you changed affect the finished item. I've made a couple of renfrews recently, and I agree with you on leaving off the hem and sleeve bands - I like it a lot more that way. I've also been having twin needle issues, but have yet to conquer mine. Mine was on Coco, which was a decent, fairly stable knit from Cloth House, but it would just not play ball at all. I used leftovers from that for a renfrew, so didn't even attempt the twin needles! So I don't think that could be because of the quality of fabric, maybe the quality of the thread though, I'll try changing that next time! I'm super impressed with all your stripe matching on these!
ReplyDeleteMaybe you've hit on something there! It might be the thread...I could not get the twin needle to work at all on the stable ponti knit I used for my Lady Skater and I think someone mentioned to me at the time that those sorts of fabrics could be tricky. Leaving off those bands seems to be a popular choice with the Renfrew!
DeleteI like your tale of sewing with knits-really shows your progression. They are a tricky fabric to master but so satisfying once you do. I find with twin needle hems that using a strip of elasticated interfacing on the reverse really helps to stop the tunnelling, particularly on lightweight knits x
ReplyDeleteThat's a fantastic tip thank you, it sounds like that would absolutely solve my problems. And prevent that wavy hem I sometimes get...
DeleteI agree, it's great to see how much your skills with sewing knits have improved over time! I've made a ton of Renfrews (I think I'm up to 17?), as they're such versatile wardrobe basics. I use them a lot for layering in the winter. I've been thinking of omitting the hem band and trying a twin needle, but so far I've just been too lazy to do so. :)
ReplyDeleteI've only ever tried a twin needle on fairly stable knit fabrics, and it worked out really nicely with no tunneling. I suspect a thinner knit would behave very differently though!
17????!!! That's got to be some sort of record! Yes I think each knit fabric behaves totally differently with the twin needle, much as they behave differently to one another in every other respect!
DeleteSuch a great way for you to see your improvement! Improvement seems to happen so much more slowly when you aren't able to step back and objectively observe yourself. Great job on all three tops and wonderful how you were able to learn from all of them - I'd call that super successful sewing!
ReplyDeleteSometimes, skipped stitches have to do with a needle bouncing off a knit fabric and not completely piercing it to complete the stitch properly. This can be either a result of the fabric (spandex is often dense and causes all kinds of bouncing) or the type of needle (sharp vs. ballpoint). Some knits actually behave better with a sharp needle while others are so much better with a ballpoint. It's all about testing and making samples with whatever fabric you are using. A dull needle can also cause skipped stitches. And as Becca Porter mentioned above, sometimes you need to stabilize the fabric where you plan to stitch with a twin needle. Even sewing through a strip of paper placed over or under your fabric as you sew can help make a difference.
I often prefer a small zigzag stitch and then a serged edge after as well. It's a good way to imitate an all-in-one industrial serger that has a chain stitch to the left of the serging. If I'm not sewing a zigzag seam, I always use four cones and two needles for construction on my serger (I use 3 cones and one needle for all other basic serging).
Love all three tops! I agree that the shorter sleeves on the last one are the nicest proportions. The other sleeve length is nice too for some variety. =)
Thanks so much for all those fantastic tips Brooke, that all makes so much sense to me after working with these three different knits. I used to be very impatient with my sewing and just want to get stuck into the real thing rather than doing any trial and error on scraps but that is probably the best tip you can give! I've tried both sharp and stretch twin needles and was surprised to see that the sharp worked better on some than others. It seems all the advice out there says to always use ballpoint or stretch but it's definitely good to play around and find out as all fabrics are so different.
DeleteSuch a great post! I've noticed changes in the way I sew certain fabrics over the years but I've never put it into words like this or done such a great comparison. Thanks for sharing your knit journey - it's great to share this kind of information!
ReplyDeleteThank you, you're welcome! It was actually quite a revelation to look at all three next to each other and write about them. it really made me feel like I had accomplished something and I could understand my learning process and why certain things worked or didn't in a way
DeleteI would always do necklines and armholes on a knit on the machine. Imagine unpicking overlocking if you had a pucker? Side seams and shoulders are fine to overlook normally but I do generally go with machine first and finish on the overlocker. And look how much better you've got with your knit sewing!
ReplyDeleteJo, I'm so happy with that last t-shirt and much more confident now! I think I'd been relying on my overlocker too much and it definitely leaves way to much room for error!
DeleteI loved seeing your knits progression! I've done the same thing, but with the Plantain pattern.
ReplyDeleteOne thing that is still frustrating to me is how differently knits behave! My two latest Plantains were made using verrrrry drapey jersey, and I don't really like the neckline binding on them very much.
That's really interesting Nicole. I think the thing that I struggle most with about knits is that they are all SO different so you can never confidently set out knowing exactly the best way to handle it and they produce such different results. Sewing up the same pattern in different fabrics is a great way to learn though I think
DeleteOo I hadn't seen the Brigitte before, I'll be looking into that! That fusible web sounds great, I've got some steam a seam but it's not stretch. Those are great tips thank you, I'd love to try some merino one day!
ReplyDelete