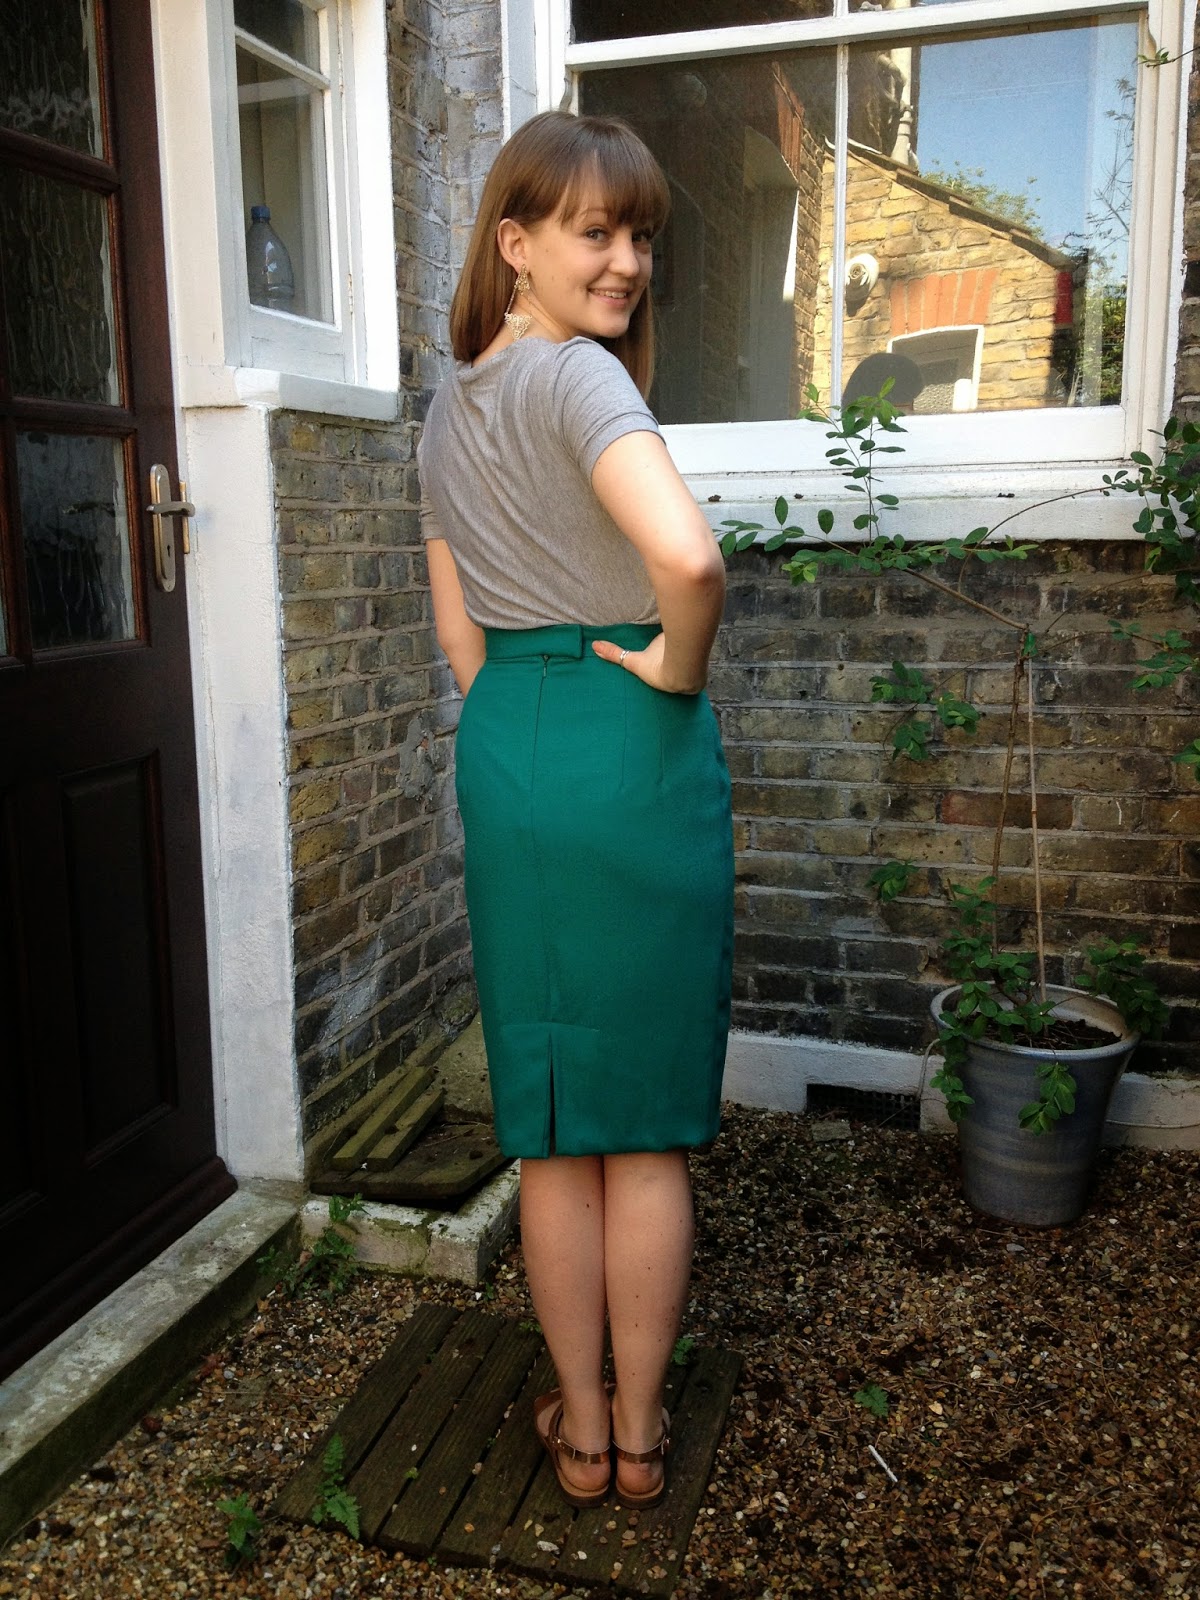
Today I've got a make to share with you which I actually finished a fair few weeks ago but have been getting a lot of wear out of recently in this gorgeous weather we've been having in London. I've been wanting to make some more simple and classic pieces to add to my wardrobe as a lot of the pretty dresses I make, while fun to sew, don't get an awful lot of wear in my day to day life. But I still wanted to have some fun so I chose to pair this vivid emerald green wool crepe with the clean silhouette of
By Hand London's Charlotte Skirt. I'm still dying to make up one of these with the ruffle hem or peplum variation by the way, just need to find an occasion to use as an excuse to make it!
This luxurious wool crepe has been sitting in my stash for quite some time as I had a really hard time choosing a project for it! It was such a special piece I didn't want to use it for something that I wasn't certain would work. I picked it up from a remnant sale I was lucky enough to catch on Berwick Street. Every now and then The Silk Society, Berwick Street Cloth Shop and Broadwick Silks have a remnant sale in their upstairs offices. Look out for little posters in their stores if you're ever paying a visit. This was a 1.8m piece which I paid just £18 for, it was originally £35/m! Luckily, as I was shortening the skirt, I managed to squeeze this out of just 80cm so I still have a metre left...ideas anyone?!
I've used this pattern a fair few times now so it came together really smoothly. I cut the size UK 10 as I do with all BHL patterns and the fit is great, just the right amount of snug around the waist. In a couple of my previous versions I've taken a smidge out of the side seams around the hips as the pattern is drafted for the curvier ladies among us but that does make it fairly restrictive so I left them as is this time to allow for comfortable movement (and dinner!) The only other change I made was to take 3.5" off the hem. BHL patterns always come up long on me plus I think hitting just beneath the knee is more flattering on my short legs than a full on midi length.

I've got around the 'walkability' issue of this fitted skirt in different ways each time I've made it. If you're using a fabric with a bit of stretch (as I did for my
Elisa-lotte Dress) and are making it no longer than mine is here, you can probably get away without any kind of vent. With my
Brocade Skirt I followed the provided instructions to create a simple vent, including mitred corners when hemming. On my recent
Anna-lotte Dress the chiffon panel around the hem meant I could create a simple box pleat in that while it was flat and cheat a kind of faux kick pleat. For this version I wanted to give the wool crepe the lovely finish it deserves and decided to try creating a kick pleat. It was before I had made up the beautiful
Martini Dress from Capital Chic Patterns which includes a lined vent which probably would have been a lovely finishing option for this had I known!
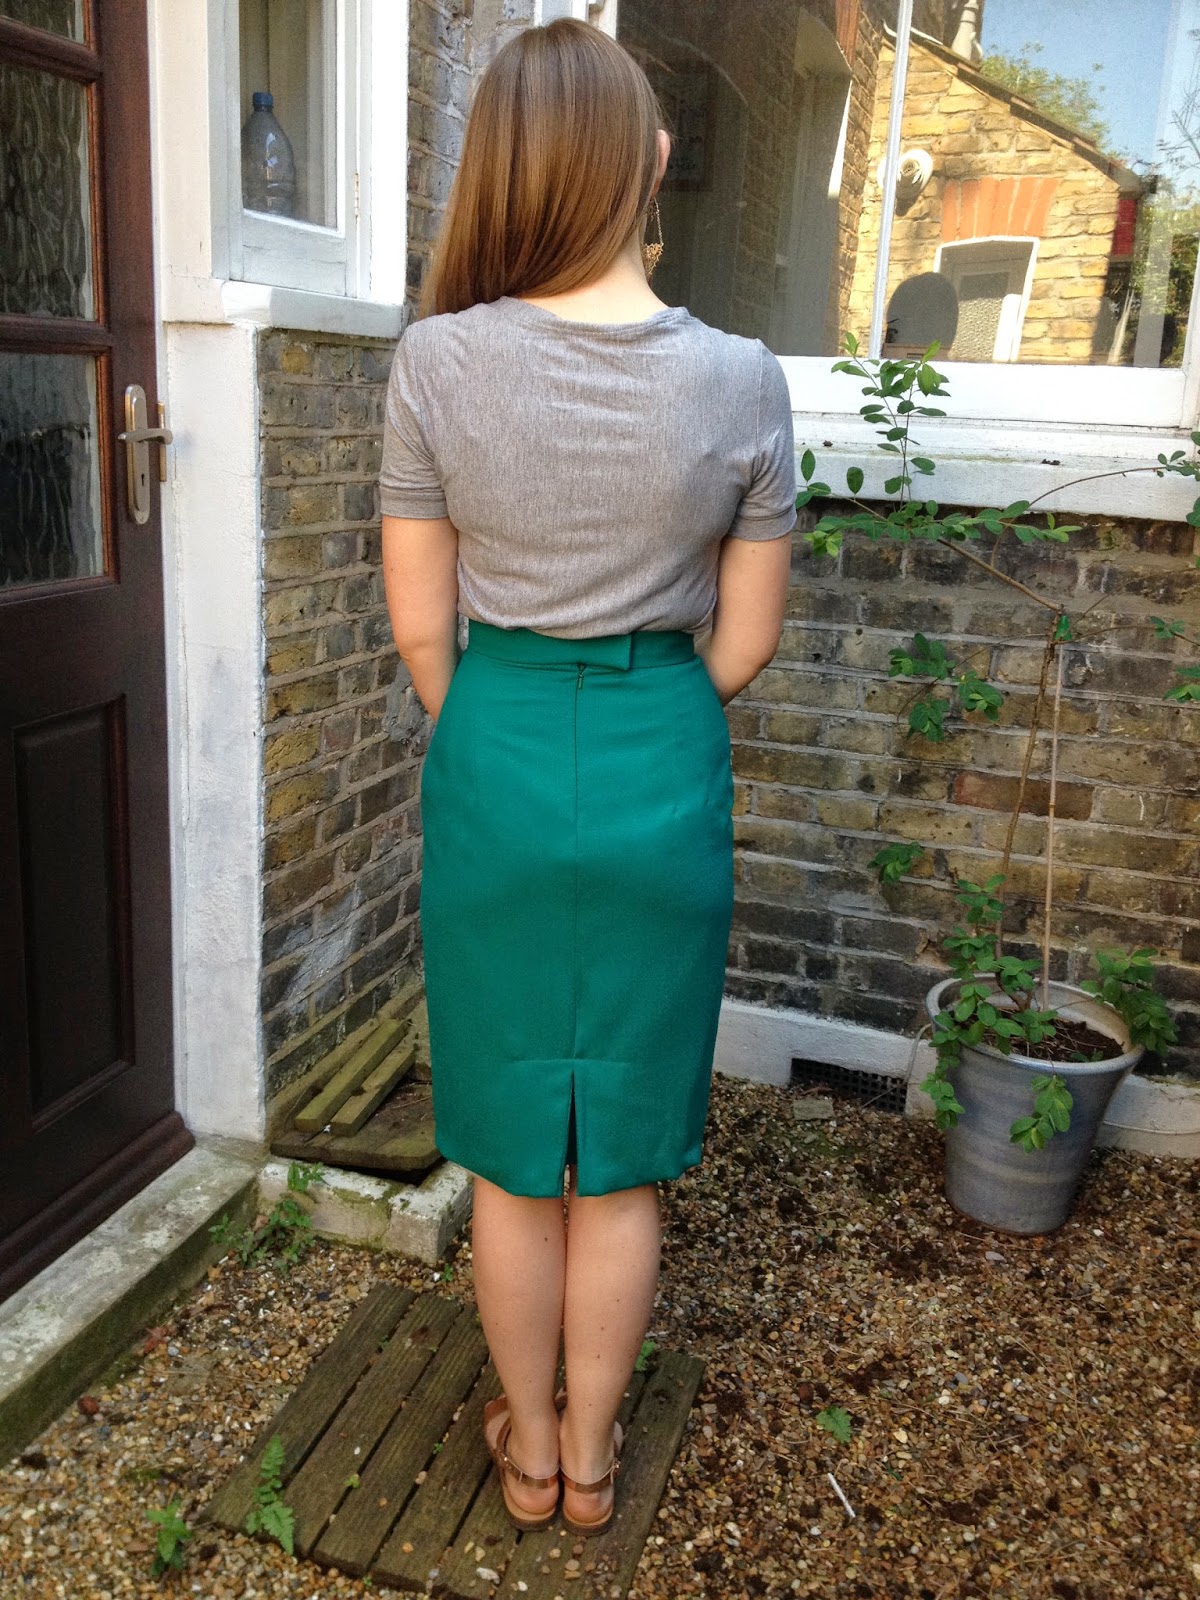
The standard method of creating a kick pleat seems to be to add a section on to your skirt pattern piece at the hem on just one side. However, I made the mistake of forgetting that I wanted to do this when I cut it out. So I put my thinking cap on and made my own version! I worked out how wide I wanted the pleat to be then made up a simple rectangular pattern piece twice the width of the pleat to account for the amount folded back, plus seam allowances. I then attached each side to the seam allowances of the skirt before sewing up the centre back seam. After doing this I pressed the folds of the pleat in place and stitched across the top to secure. It's pretty hard to explain in words so I might put together a photo tutorial if anyone is interested in a slightly unusual way to create a kick pleat!

The other main change I made to the pattern was to fully line it with an emerald green cotton poplin. This is quite a lightweight crepe so had the potential to be a little sheer in direct sunlight, plus I felt such a delicious fabric deserved the special treatment! This is a super simple project to line; I just cut the front and back skirt pieces from the cotton and assembled them exactly as the main pieces. Once I was ready to attach the waistband I first used my zipper foot to attach the lining down either side of the zip in a way very similar to the instructions of the
Cambie Dress. Finally I machine basted the lining and skirt wrong sides together along the waistline so I could treat them as one when attaching the waistband as per the instructions.

If making a similar style in this type of fabric again I'd probably choose to reinforce the fabric at the dart tips by applying a small square of fusible interfacing over each point. It took a lot of pressing to get those darts anywhere close to crisp and I still feel they are a little droopy. Another tip for you if you are thinking about working with wool crepe is to use a press cloth so you can turn the heat without worrying about damaging your make but still get nice flat seams. It's really important to consider how you might launder your finished garment and to pretreat it appropriately as it can shrink by quite drastic amounts. For this skirt I used
Carlolyn's fab post to teach me how to steam shrink it with the iron; if I had a tumble dryer I'd definitely be trying her wet towels trick!

I'm not entirely delighted with the finish of the overlapping waistband above the zip. I've never been completely satisfied with my efforts with this and in the bouncy wool crepe which refuses to press flat it was really tricky. I think perhaps a button and button hole might make a difference rather than the hooks and eyes I've used but I think if I make this skirt again I'd do without the overlap, use a longer zip and insert it up to the top of the waistband.

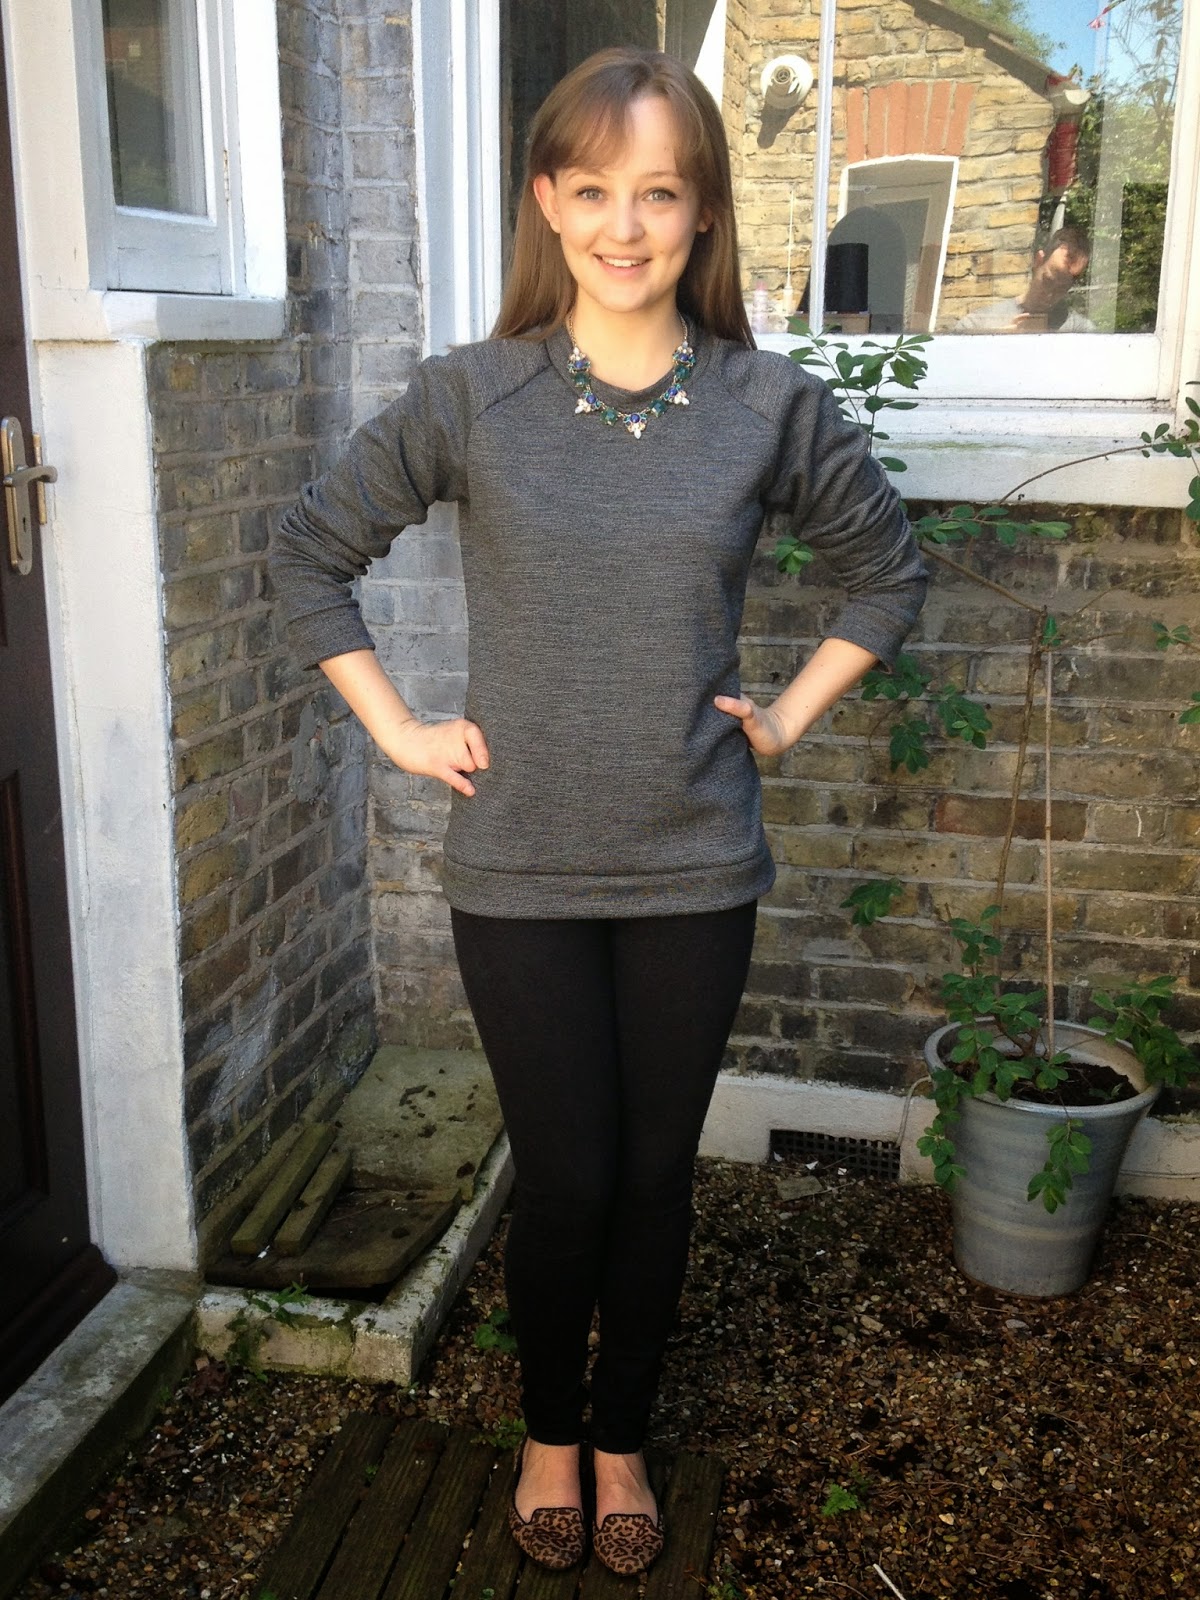
In general though I'm really pleased with how this little number turned out as it mixes in well with the rest of my wardrobe and is great to dress up or down. It's also great to wear in hot weather which might surprise you as wool is generally thought of as a winter fabric. However the fact that it is a natural fibre plus the weave of the crepe makes it very breathable. I'm wearing it here with my very first
Sewaholic Renfrew Top which I'll be sharing along with two more versions very soon! For now I'm off to drink in the inspiration you guys have been filling my overflowing blog roll with!