Green Satin Christmas Sicily Slip Dress
If you follow me on Instagram you might have seen that I've been working on a pretty epic coat project for the last month or so. It's now finished and I can't wait to show you all but after all that sewing I'm struggling to muster up the enthusiasm to take photos and write what I imagine will be a fairly epic blog post. So in the mean time you're getting a Christmas party dress!
This is my second iteration of the Sicily Slip Dress from Sewing Patterns by Masin. I've already written a fairly detailed review of the pattern (which is fab and a popular choice within the sewing community) but I used a different fabric and made a few tweaks to the fit this time that I wanted to explain. I loved my first version, which I made in a Liberty print silk satin, but this time wanted a slightly shallower cowl neck. I've always felt that the first one was a little deep on me (despite shortening the straps) and there was a bit too much fabric hanging around in that area.
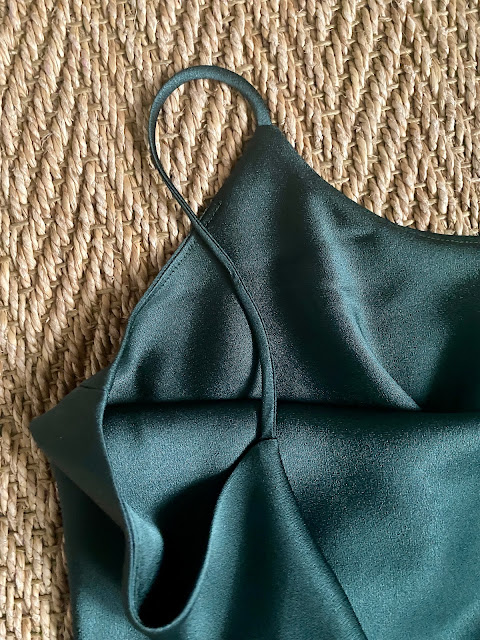
I googled various techniques for adjusting the cowl. Most recommended what my instincts originally told me, to take a wedge out of the centre front. However, that isn't really possible on this pattern as the facing is grown onto the front pattern piece and you just fold it down so no seam is visible in the cowl. Essentially to reduce the depth of the cowl you need to reduce width of the neckline, so shorten this fold line. I took 1" off each end of this line, therefore bringing the armhole in. This didn't make a huge difference to the size or shape of the armhole once I had redrawn the curve so I just left it as it was, but if you were to make a larger adjustment you might need to change the armhole.
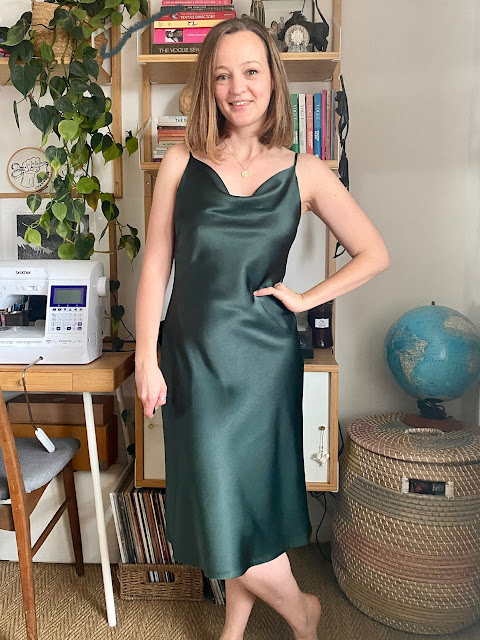
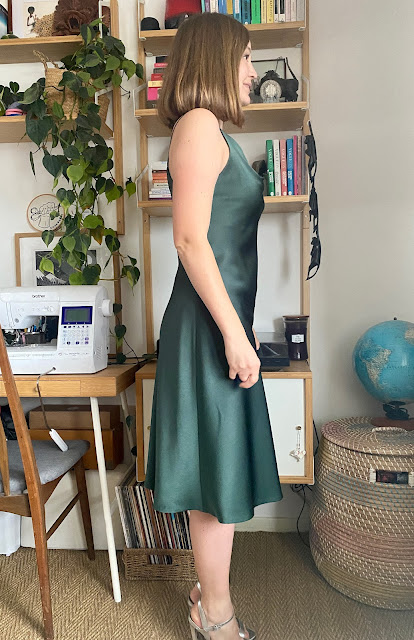
I was slightly unsure if this adjustment was going to work but I'm really pleased with how it turned out. This time I kept the length of the straps as drafted and am really happy with where the cowl sits. It sits flatter to the body too and hangs nicely.
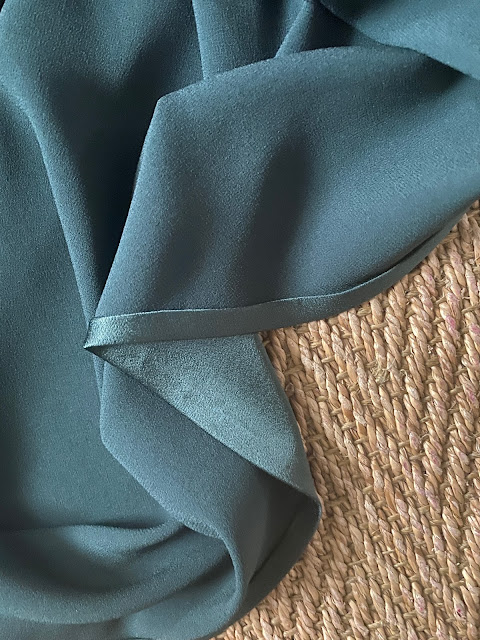
The fabric I used this time was just as drapey and slippery as the Liberty satin but was heavier and synthetic rather than silk. This is a deadstock Satin Backed Crepe in a beautiful rich pine green from The Fabric Store. This fabric is one of those that is really hard to photograph accurately but is in reality a lovely festive forest colour. It is a triacetate and polyester blend which made me hesitate but was actually a lot easier to work with than the silk and doesn't feel static at all. It is actually lovely to wear, feeling cool and smooth against the skin.
Due to the bias cut nature this project does require careful handling and sewing but it is really enjoyable to make. The most fiddly part is turning the straps through and understitching the neckline. As I discussed in my previous post the instructions are packed with information and useful tips about working on the bias. I really recommend it as a first project if you haven't sewn a bias cut garment before.
However, as I was in a bit of a hurry to make this one I passed some of the tips by and went down the speedy route. Luckily this fabric was a lot more forgiving than the fine satin I used for my first version and it has sewn up absolutely beautifully. I actually had more trouble with drag lines/pulling down the side seams last time despite putting more effort into preventing it. I think it might have had something to do with that silk being so fine and delicate but also perhaps that I might have 'overworked' the silk and actually given myself more opportunity to stretch it out. This time I did use a very narrow zig zag to sew the seams but didn't stay stitch them before sewing and rather than use french seams just overlocked and pressed them open for speed. This poly fabric was no where near as special as the Liberty silk so I wasn't fussed about having an exquisite finish on the inside.
I quickly tried it on before tacking down the facing and hemming and felt like it was a bit too roomy for this style, hanging from the body rather than skimming it. I ended up taking it in by 1/2" on the double down each side seam. I don't know why I needed to do this this time and not last time as I'm the same size! I wonder if it has something to do with the fabric being a crepe and how much stretch that type of fabric has across the bias. I always find crepes more prone to stretching than other weaves.
I completely forgot that I had a bit of excess fabric in the small of my back last time and that I wanted to rectify that this time with some sort of sway back adjustment. So I still feel like I've got a bit of excess there, despite taking this version in! It doesn't bother me too much because of the way the dress moves on the body when worn.
I cut off about an inch to achieve a hem that hit just below the knee (I'm 5ft 3 if that's helpful for reference. After cutting corners with most of the finishing I went rogue at the end and opted to hem it by hand as topstitching was going to be visible on the outside, which seemed a shame when the rest of the dress has such a clean look. Despite the hand sewing this was so quick to make. I think it was about 4 hours including cutting.
The fabric has an amazing fluid drape and really flows beautifully over the body when used for a bias cut garment. The heavier weight of it is really nice for this style of dress as it feels less exposing over any lumps and bumps. I made this for a party, which it certainly feels luxurious enough for but I actually think I'll be able to get a lot of mileage out of it but layering it with turtlenecks and jumpers and pairing it with boots and tights through winter. Definitely a pattern I will be returning to again.





Comments
Post a Comment
I love hearing from readers of my blog so please feel free to leave a comment!